Tuesday 11 November 2014

Patchwork Please Triangle Patchwork Box Pouch


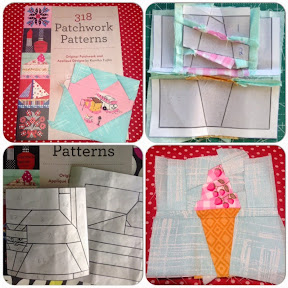
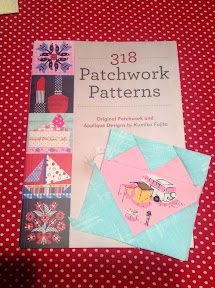
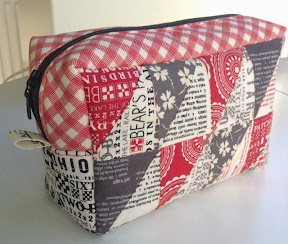
I've loved looking through the Patchwork Please book and so a couple of months ago I attempted the Box Pouch using a Moda Scrap Bag. There was a sew along when the book first came out and so there was some advice on various blogs. Some said they made it without many problems ... But I found it quite difficult to make.
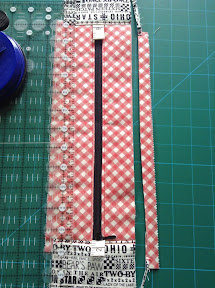
The book says that there is a 1/2" seam allowance, but the triangle pattern has a 1/4" seam. I sewed all of it with 1/4", this was probably where I went wrong!
I wasn't sure how to attach the top zip panel to the sides, but Alyce from Blossom Heart Quilts explains on her blog that you sew it on the same as you mitre the corners when doing a quilt binding ... that then made sense.


The outer came together ok, but then the lining didn't fit :o(


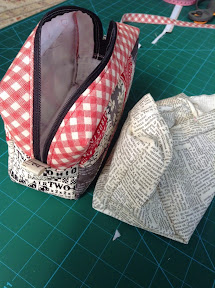
I left it the right way out for ages and it looked very nice ... But I couldn't use it. Then at the weekend I finally stitched an extra panel in the lining to fix this hole. It's still very badly fitting ... But once filled with stuff it is ok.


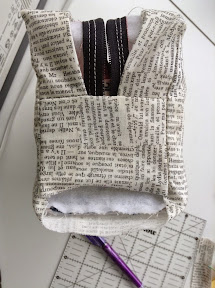
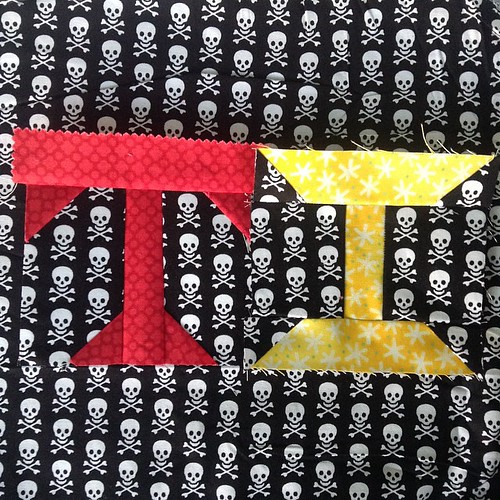
Today I went to "Stitch Club" and filled it with bits to finish the clamshell block for my Green Tea and Sweet Beans quilt .... Or Grean Beans and Rich Tea as we have been calling it!
I love the boxy look of the bag, but I won't be making another one for a while. I will try out some of the other box pouch tutorials first.


Off to "Stitch Club" for the afternoon with my newly finished box pouch. It only took me about 6 weeks to fix the lining 😞 #scraptastictuesday #patchworkplease
Linking up with #scraptastictuesday over on Leanne and Nicky's blogs.


- Posted using BlogPress

Monday 3 November 2014

318 Patchwork Patterns


I've loved seeing blocks from the Japanese version of this book over the past couple of years. So when it was published in English I knew I had to buy it. I was even happier when I found out that Allegory from athousandneedles blog was organising a blog hop which included some of my favourite bloggers!


So I though I'd try the easiest blocks first and make them 4". As I don't have a scanner or access to a photocopier I took a photo of the block as square as I could and then put it into word before scaling and printing. I was also able to reverse the Ice cream cone to paper piece it. There are not many directions in the book as to 'how to do this' and so the blog hop has been useful.


All went well with the first two blocks, once I realised I'd have to add boarders to finish them off, and so being Halloween I thought I'd make the cat and cake at 5". I printed the pictures directly onto freezer paper which I'd cut to A4 size and they came out fine..... But the cat has beaten me.... It's just too small, so I've moved onto the cake but it's not finished as I wasted loads of time messing with the cat :o(


I will return to the cat after a bit more practice at freezer paper piecing as described on Kerry's blog. I have a plan to turn these into 3 nesting boxes using 4", 5" and 6" blocks. I need 12 finished blocks so I'll try again to finish the cake.
If you have this book....and some of you must as when I checked Amazon it said only 2 copies remaining, then why not join in the blog hop?
EDIT ... The book also includes a really useful alphabet and so they were quite quick to piece, although those pesky skulls gave me some trouble. in the end I was just happy that they were the right way up!

The #318patchworkpatterns book also includes a really useful alphabet. I struggled to match those pesky little skulls and in the end I settled for them at least being the right way up! #pp318qal